It’s that spring season again, and I am setting my first round of eggs in the incubators this week. So let’s talk about how that works and how you can hatch your quail chicks at home too!
Setting Up Your Incubator
If you need help choosing an incubator, refer back to the last post on this topic. Before you put any eggs in the incubator, ensure it is ready and functioning properly by starting it up and getting it to the right temperature and humidity 24 hours prior.
Stabilize Temperature:
I set my incubators to maintain a temperature of 99.5°F. I do this by using both the thermometer integrated into the incubator controls and two additional thermometers that I place inside the incubator at the same level as the eggs. Once I get it pretty close, I let it run for 24 hours to ensure it holds these settings consistently. Note that if you are using a still air incubator rather than a forced air model, you will need to use slightly higher temps.
Stabilize Humidity:
There are varying schools of thought on humidity levels. Some keep humidity very low and raise it only at the end, some keep it high the whole time, and some are more down the middle. Regardless of which method you use, the eggs need humidity for the hatch. Feel free to experiment with different methods if you like to see what results you get. I am in a very dry climate and what I do is a humidity level at 45% for the first 14 days, then raise it to 75% for the last 3 days up to hatch time. To achieve my beginning level of 45%, I fill about half the channels on the bottom of the incubator with water. I am not precise about this, and if it varies by 5% I don’t worry about it.
Egg Selection and Care
Not every egg is suitable for incubation. Select eggs that:
- Are Fresh: Ideally, eggs should be no more than 7-10 days old.
- Have Clean, Undamaged Shells: Dirty eggs add bacteria to the incubator which may sicken the chicks. Damaged eggs have never hatched for me and, again, can introduce bacteria to the incubator.
Once selected, handle the eggs gently and store them pointed end down in a moderate temperature ( I aim for not over 60 degrees) until you’re ready to place them in the incubator. Often if I am collecting eggs from my own birds to hatch, I will do so by placing them into the turner racks in the open incubators. I start up the turners and let them rotate the eggs while I collect enough to start the hatch. Doing so makes it less likely the yolk will adhere to the albumen while they sit and improves hatch rates.
Incubation Process
With your incubator stabilized and eggs selected, it’s time to start the incubation.
Place the Eggs:
If your incubator has an automatic turner, place the eggs in the racks pointed end down. If you are not going to use an egg turner, you will just lay them on the bottom of the tray.
Turning the Eggs:
Quail eggs need to be turned regularly to prevent the yolk from sticking to the shell. This is crucial for the embryo’s development. If you have an automatic turner, this will be done for you. If you plan to do this manually, use a marker to mark one side of each egg to ensure even turning. Set yourself an alarm or reminder to turn them 4 times daily.

Monitor and Adjust:
Check the temperature and humidity daily. I often do this many times per day and make small adjustments as needed. If you find the temperature is not where you want it, make small adjustments at a time and wait a couple of hours before making another one. You can easily cook the eggs by turning it up too high.
Calculating Hatch Day
Quail eggs incubate for 17 days. When you place them in the incubator, that will be day “0”. Day 1 is 24 hours later, so if I start my incubation on Sunday evening, Monday evening is day 1. I will mark this on my calendar accordingly so I can calculate lockdown and hatch day.
Entering Lockdown
On day 14, three days before the expected hatch date, you’ll enter what’s called the “lockdown” period.
Stop Turning the Eggs:
It is now time to discontinue turning the eggs to allow the embryos to orient themselves properly for hatching. If you have an automatic turner, remove the entire turner carefully from the incubator and place each egg gently on its side on the bottom tray. Do this as quickly as possible because the temperature will drop quickly with the incubator open.

Increase Humidity:
Add water to the channels in the bottom of the incubator to adjust the humidity to 75%. For my incubator, this means filling all the channels.

Resist the Urge to Open the Incubator:
From this point on, keep the lid closed at all times to maintain the necessary temperature and humidity.
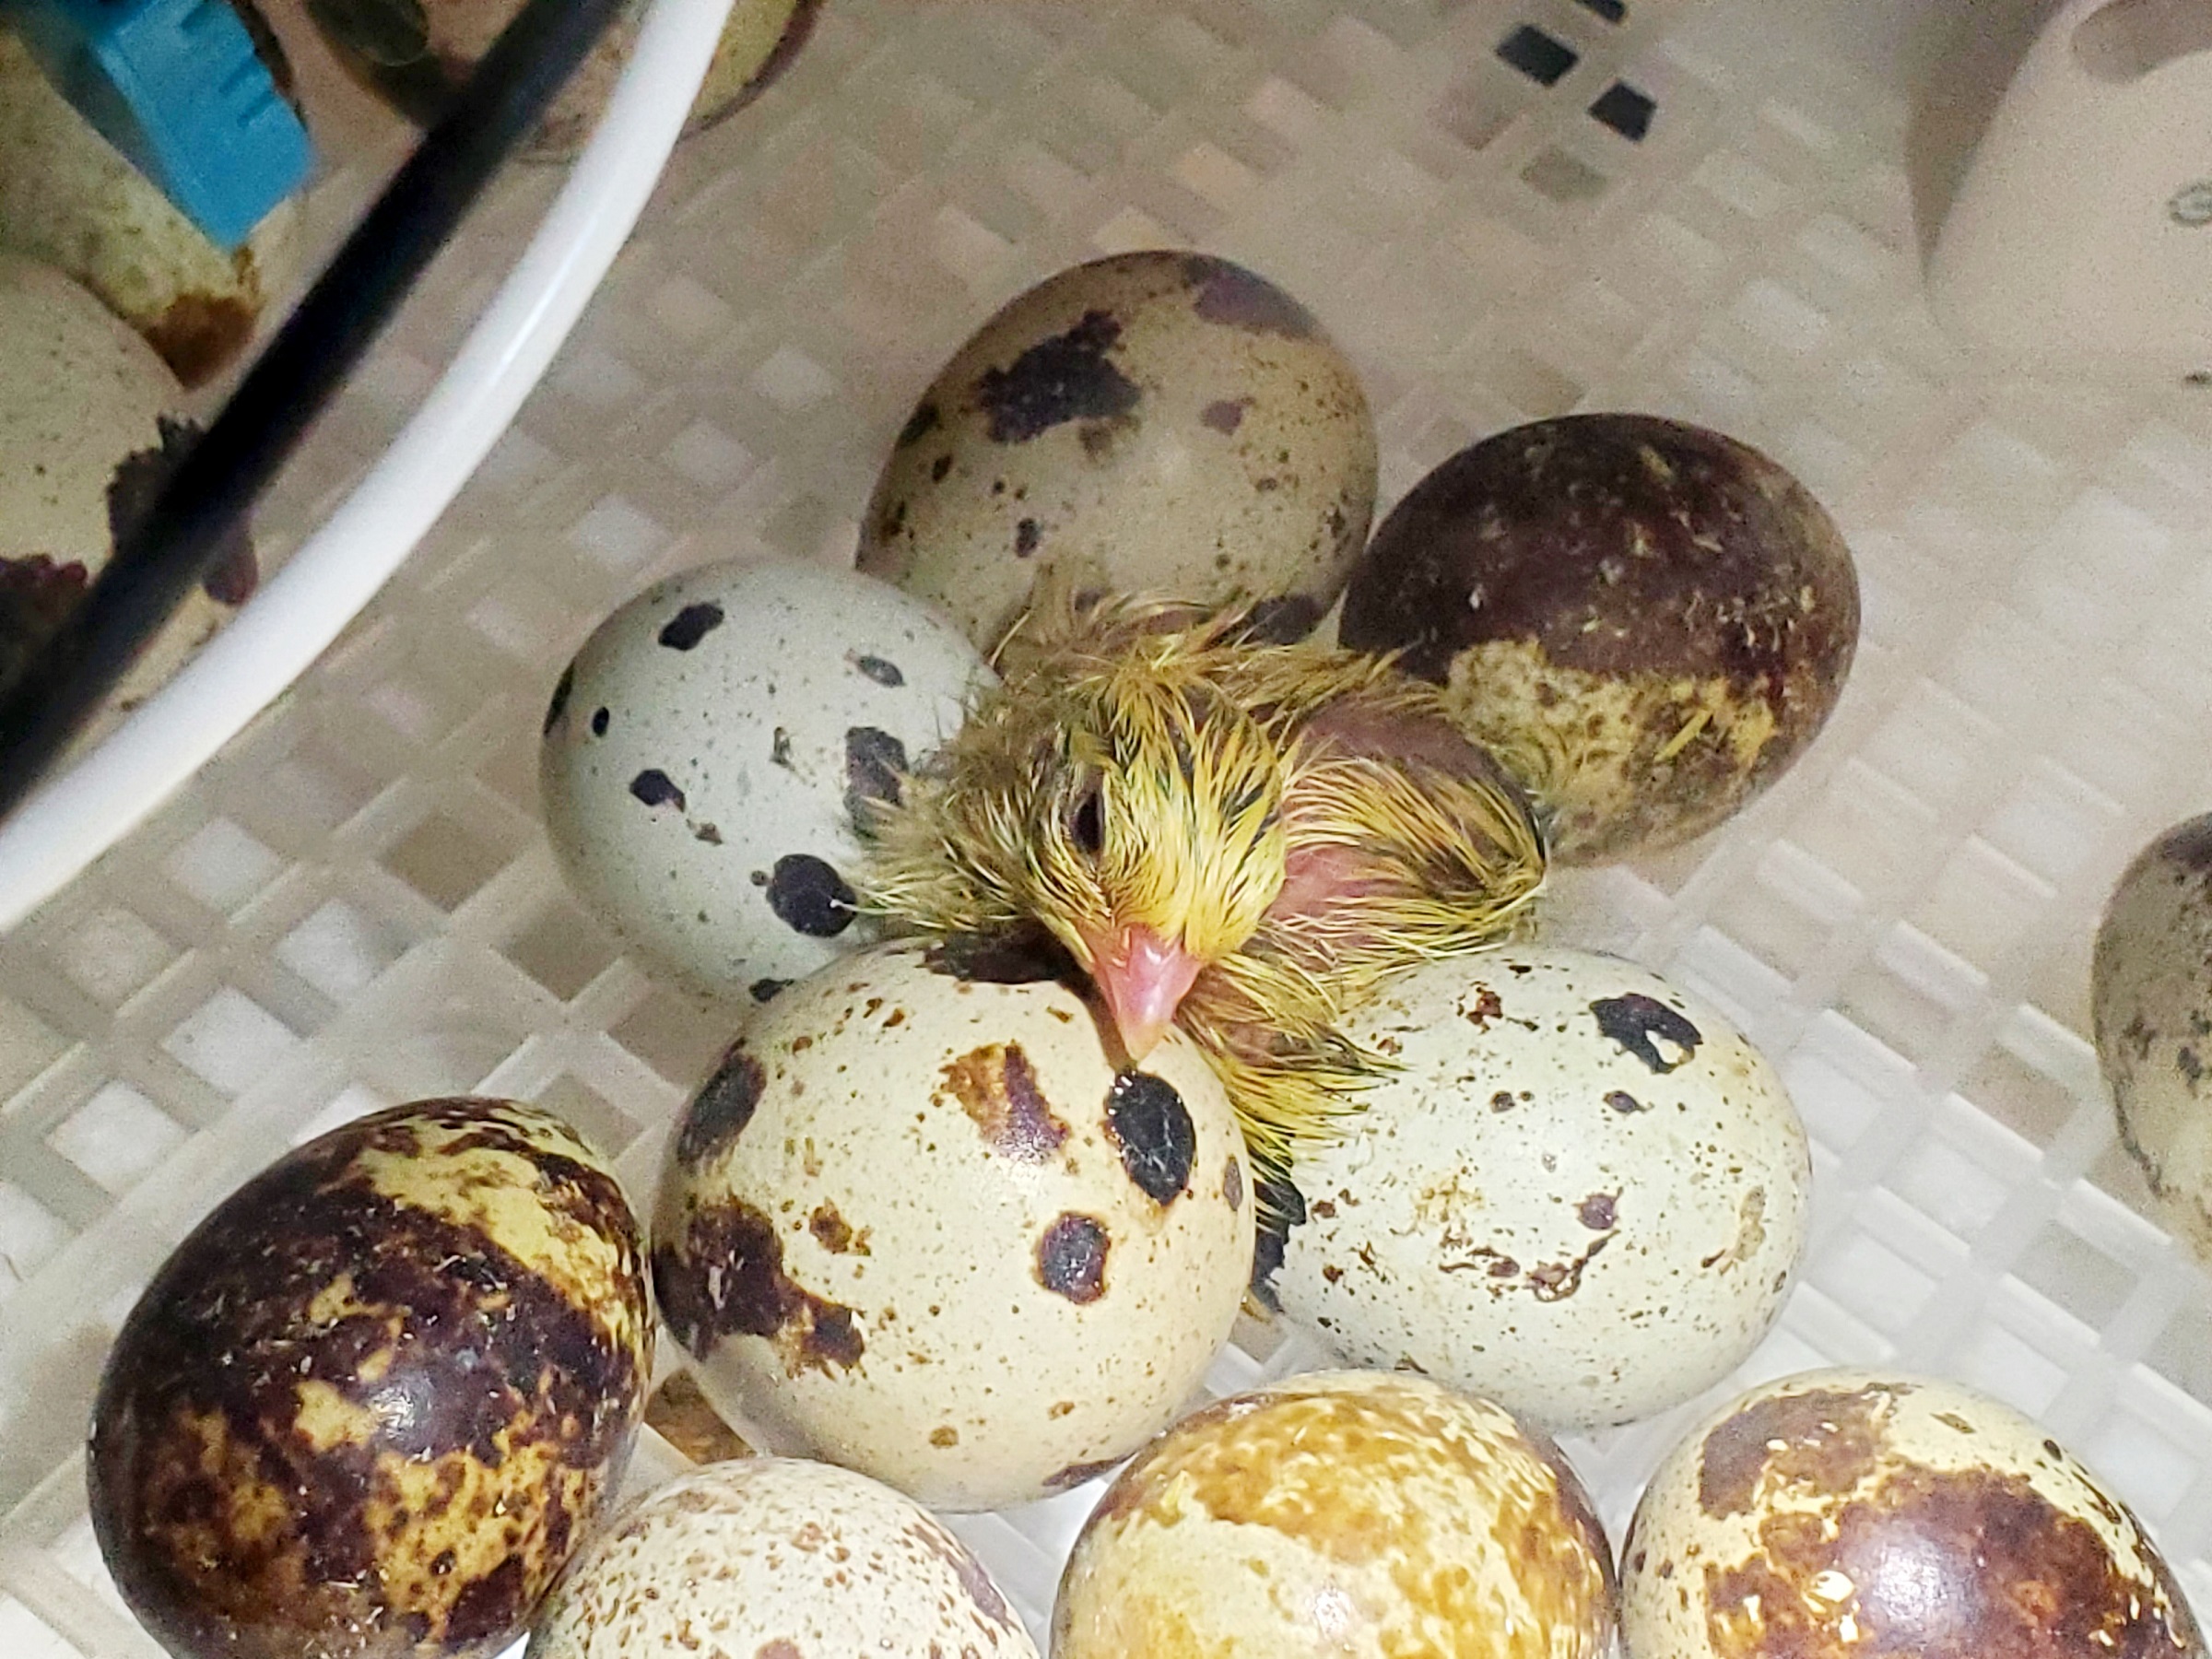
The Hatching!
Hatching is an exciting time and can take anywhere from a few hours to a full day for the chicks to fully emerge from their shells. Be aware that hatch can start early or late, so while most chicks will usually hatch on day 17 some may be early and some late.
Listen and Look:
You might hear peeping or see eggs moving as the chicks begin to work on breaking through the shell.
Hatching Begins:
The first thing the chick will do is “pip”, or make one tiny hole in the eggshell to begin hatching. After this the chick will often rest a while before beginning to work again on the shell. The chick will then cut a line all the way around the egg starting at the pip. When it has done this, it will pop open the top and fall out of the egg. This is quite an interesting process to watch!


Let Them Rest:
Upon hatching, the chick will be tiny, wet, and floppy. They need some time to get their feet under them and begin to walk around and dry out their feathers. Resist the urge to open the incubator! Once hatched, chicks should remain in the incubator for about 8 to 12 hours or until they are dry and fluffy.

Move to Brooder:
When they are dry, it is time to transfer the chicks to a pre-warmed brooder. There is a risk if you open the incubator while a chick is still in the “pipping” stage that the sudden inflow of dry cool air will dry out the membrane that lines the eggshell and the chick will become trapped in the egg and die. So I try to time carefully the removal of chicks that are ready to go to the brooder with those still in the process of hatching. When I’m ready to move them, I open the incubator just enough to put my hand in and scoop up the chick to carry them to my brooder. If there are many, I will use a bowl to collect and move them.

Shutting Down the Incubator:
I keep my incubator running for 24 hours after the last chick hatches if there are still unhatched eggs, because I have had eggs hatch that late before.
A Note About Assisting the Hatch
Inevitably you will have chicks that die in the shell partially hatched, or never hatch. This is part of nature. I do not “help” chicks that cannot hatch on their own. I have done it before and the chick never lived more than a few days, which is why it was not able to hatch on its own in the first place. Now, I let nature take its course. You will have to decide that for yourself.
The Brooder
Before your hatch takes place you will need to have your brooder set up and ready, with your heat source pre-warmed. We will go over that in detail in the next post!